


Table of Contents
- Why Consistent Logo Embroidery Quality Matters for Branded Uniforms
- Step 1: Set Clear Logo Embroidery Design Guidelines
- Step 2: Nail Down Embroidered Logo Size and Placement
- Step 3: Choose Garments and Backing That Hold the Stitch
- Step 4: Run an Embroidered Uniform Sample Approval
- Step 5: Use a Logo Embroidery Quality Control Checklist
- Troubleshooting Common Embroidery Faults
- Conclusion
- Frequently Asked Questions
Last Updated: 21 October 2026
Why Consistent Logo Embroidery Quality Matters for Branded Uniforms
Consistent logo embroidery is the difference between a uniform that looks sharp on every wearer and one that quietly undermines your brand. At Corporatewear UK, we have supplied branded workwear since 1996, and the same pattern repeats: the businesses that get consistent results treat embroidery as a specification, not an afterthought. When the logo on a warehouse operative's polo matches the one on a hotel receptionist's shirt stitch for stitch, staff look like one team. When it does not, customers notice.
That inconsistency usually starts before production. A logo redrawn for each order, a backing swapped to save cost, or a stitch count left to the machine operator's judgement will all show up eventually. The fix is a documented process you can hand to any supplier, any time. This guide walks through five steps to lock that process in.
Step 1: Set Clear Logo Embroidery Design Guidelines
Good logo embroidery starts with a written specification. A design guideline is a short document that tells every supplier exactly how your logo must be stitched. It removes guesswork and stops the drift that creeps in between batches.
Your guideline should cover:
- Which logo version is approved for embroidery
- Exact thread colours by code
- Stitch type and density
- Minimum and maximum finished size
- Placement measurements for each garment type
- Which backing and toppings are allowed
Digitising the Logo for Embroidery
Digitising converts your artwork into a stitch file. It is not a click-and-convert job, and treating it as one is a common mistake. A good digitiser simplifies fine detail, sets underlay to stabilise the fabric, and adjusts pull compensation so the stitched logo matches the original shape.
Ask for a sew-out on test fabric before approving the file. Keep that sew-out as your master reference.
Thread, Colour and Stitch Choices
Lock your thread to a named brand and colour code, not a loose description like "navy". Shades vary between manufacturers. Specify the stitch type too: satin stitch for small lettering, fill stitch for larger solid areas, and a defined density that suits the fabric.
Step 2: Nail Down Embroidered Logo Size and Placement
Embroidery placement is where most consistency problems hide. A logo that sits 10mm higher on one batch reads as sloppy next to a correctly placed one. Define size and position in millimetres for every garment type and write it into your guideline.
For each garment, record:
- Finished logo width and height in millimetres
- Distance from the collar seam to the top of the logo
- Distance from the centre placket to the logo edge
- Placement for left chest, right chest, sleeve and back
Give your supplier a marked-up photo of each garment with measurements. It is faster to check against than a text description alone.
Step 3: Choose Garments and Backing That Hold the Stitch
The garment and backing decide whether a good stitch file stays good. A soft, stretchy fabric will distort under a dense logo. A firm knit holds its shape wash after wash. Specify the fabric weight and composition in your guideline so every order uses the same base.
Backing matters just as much. Tear-away backing suits stable woven fabrics. Cut-away backing supports stretchy knits. For caps, pre-cut backing sized to sit inside the cap keeps the stitch clean. We stock 76g cap backing in packs of 250 for exactly this job.

Step 4: Run an Embroidered Uniform Sample Approval
Never approve a logo from a digital mock-up. A sample approval is a physical, stitched garment you sign off before bulk production. It is the single most effective control you have.
Follow this sequence:
- Request a stitched sample on the actual garment you plan to order
- Check thread colours against your master sew-out
- Measure logo size and placement in millimetres
- Wash the sample to your normal laundry process and re-check
- Sign and date the approved sample, then keep it on file
That approved sample becomes the benchmark for every future batch. If a new order arrives and something looks different, you have physical proof to compare against.
Step 5: Use a Logo Embroidery Quality Control Checklist
A quality control checklist turns your specification into a repeatable inspection. Use the same list for the first order and the fiftieth. It takes minutes and catches most faults before uniforms reach staff.
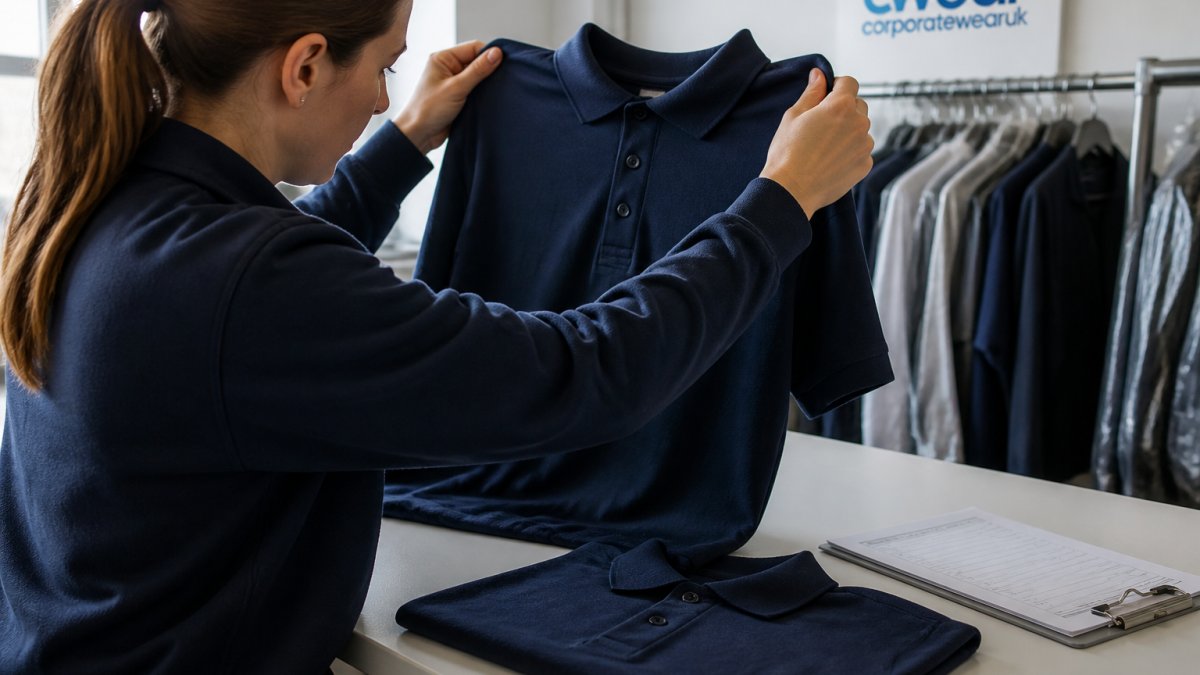
Run this check on every delivery:
- Thread colours match the approved sample
- Logo size within 2mm of specification
- Placement within 3mm of specification
- No puckering, gaps or loose threads
- Backing trimmed cleanly
- Stitch density even across the logo
Record the results by batch number. A simple log shows you when a supplier starts to drift.
Troubleshooting Common Embroidery Faults
Most embroidery faults trace back to one of a few causes. Match the symptom to the fix:
| Fault | Likely Cause | Fix |
|---|---|---|
| Puckering | Backing too light or wrong type | Switch to cut-away backing for stretch fabrics |
| Distorted logo | Poor digitising or pull compensation | Re-digitise and re-approve the file |
| Colour drift | Thread brand or code changed | Lock thread codes in the guideline |
| Misaligned placement | No measurement spec | Add millimetre placement to the guideline |
| Loose threads | Low stitch density or poor trimming | Set density and require clean trimming |
If a fault keeps recurring, the cause is almost always in the specification, not the machine. Fix the document, not just the batch.
Conclusion
Consistent logo embroidery comes down to one habit: specifying everything and checking against it every time. Write the guideline, approve a physical sample, and inspect each delivery with the same checklist. Do that, and your uniforms will look identical order after order.
At Corporatewear UK, we have spent over 25 years getting branded workwear right for teams of every size. Our same-day artwork approval and 5-7 day turnaround keep your rollout on schedule, and our price match guarantee keeps the cost sensible. Get a quote today and give your team a uniform that stays sharp.
Frequently Asked Questions
How do you ensure consistent quality in logo embroidery?
Lock the specification first: approved digitised file, thread references, stitch counts, logo size and placement coordinates. Then approve a physical sample before bulk production and check every batch against it. Repeat orders should use the same digitised file and the same backing and garment. A written logo embroidery quality control checklist, applied to each delivery, catches drift early. Consistency comes from documented standards, not from hoping each run turns out the same.
How do you keep embroidered logos the same size and placement on every garment?
Set exact measurements in millimetres, for example 80mm wide on the left chest, 75mm down from the shoulder seam, and record the coordinates on the machine. Supply your embroiderer with a marked-up garment or a placement template. For caps and sleeves, agree a fixed reference point such as the centre front or the seam line. Once approved, those figures become part of the order specification and should not change between batches.
What should you check on an embroidered sample before approving a bulk order?
Check the logo against your artwork for spelling, proportions and colour. Measure the width and position in millimetres. Look for puckering around the edge, gaps between stitches, loose threads and backing showing through. Wash the sample once to see how the embroidery and garment behave together. Confirm the thread shade matches the approved reference under daylight, then sign off the sample and keep it as the benchmark for the full run.
How do you maintain consistent embroidery quality across repeat orders?
Keep the approved sample and digitised file on record with your supplier and reference the same job number each time. Repeat orders should use identical garments, backing and thread, because swapping any one of these changes the finish. Ask for a pre-production sample on the first reorder, then spot-check deliveries against the retained sample. If your logo changes, re-approve from scratch rather than editing the old file.


